
Sensory Play Recipes Without Tools
📖 Table of Contents
I remember the first time I watched my son dig his hands into a bucket of rice and beans, laughing as he discovered the way the grains slipped between his fingers. It was messy, it was loud, and there was a trail of rice from the kitchen to the living room—but it was magical. That moment sparked my journey into the world of sensory play, and I quickly realized that the best experiences didn’t always require expensive tools or complicated setups. In fact, some of the most powerful sensory play recipes without tools came from the pantry, the garden, or even the sidewalk.
As a parent, I’ve learned that simplicity is often the key to sparking joy and exploration in young children. Sensory play isn’t about flash or perfection—it’s about discovery. Whether it’s the squish of pudding, the coolness of ice, or the gritty texture of soil, these moments help kids build cognitive, motor, and emotional skills. And the best part? You don’t need a fancy toy or a trip to the store to make them happen. The right ingredients are already at home, waiting to be turned into a sensory adventure.
My kitchen has become a lab for these kinds of experiments. A cup of flour and a splash of water can create a squishy, moldable paste, while a bowl of lentils and a colander can turn into a pouring and sorting game. These aren’t just activities—they’re lessons in texture, weight, and cause and effect, all delivered with the kind of joy that comes from unstructured play. And I’ve found that the more I lean into the simple, the more my kids engage with the world around them.
Why You'll Love This Sensory Play Experience
- It’s accessible—no fancy tools or expensive materials required.
- It fosters creativity, motor skills, and sensory development in a fun, low-pressure way.
- It’s mess-friendly and perfect for open-ended exploration.
- It’s easy to customize based on your child’s interests and developmental stage.
The Power of Everyday Materials
As of August 2026, I’ve always believed that the most powerful sensory play recipes without tools come from the kitchen. A simple bowl of flour and water, mixed just right, becomes a squishy, moldable substance that’s perfect for little hands. The texture is unexpected, the results are fun, and the cleanup? Well, it’s part of the process.
One of the first things I discovered was that even something as simple as a cup of rice can become a sensory bin with the addition of a few other items. I’ve filled containers with rice, added a few plastic animals, and watched my daughter dig through the grains to find them. It’s not just about the materials—it’s about the way they interact with each other.
The best part about using everyday items is that they’re always available. You don’t have to plan ahead or spend money on specialized tools. A bag of lentils, a bowl of beans, and a few plastic spoons can create a sensory experience that’s just as engaging as any store-bought kit.
Keep a few sensory-friendly ingredients like flour, rice, and cornstarch in a dedicated bin for easy access. You’ll be surprised how quickly they can be turned into a new activity.
Part of our Play year guide.
How to Make a Sensory Play Bin with Minimal Effort
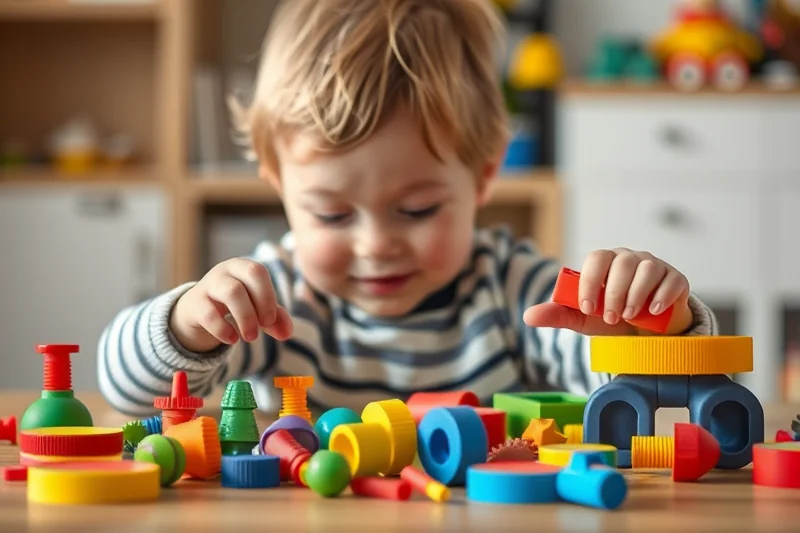
I’ve made a few different sensory bins over the years, and the most successful ones always involved a combination of textures and colors. One of my favorites was a bin filled with blue cornstarch and a few drops of food coloring. It turned into a glowing, squishy play dough that was both safe and mesmerizing for my child.
Another time, I used a bag of lentils and a small colander. The kids loved pouring the lentils through the colander, watching them fall, and then digging through the bin to find hidden toys. It was a great way to practice fine motor skills and hand-eye coordination.
The key to success is to keep things simple. The more complex the setup, the more likely it is to be overwhelming. A few items and a bit of time are all that’s needed for a truly engaging sensory play experience.
A few simple ingredients and a little imagination can turn a regular day into a sensory adventure.
Related: Small sensory play recipes
Related: Sensory play for babies list
Related: Top sensory play for 1 year old
Related: Sensory Play Recipes For Beginners
Related: Sensory play how to choose
Related: Easy Sensory Play Recipes
Related: Fast Sensory Play Benefits
Related: Sensory Play Tips Alternatives
The Science Behind Sensory Play
I’ve noticed that when my child engages in sensory play, she becomes more curious about the world around her. Whether she’s digging through a bin of rice or pressing her hands into a bowl of flour, she’s learning about textures, weight, and cause and effect. It’s a form of play that supports both cognitive and motor development.
Research shows that sensory play helps children develop their fine motor skills, hand-eye coordination, and even language development. When kids explore different textures and sensations, they’re building neural pathways that support learning later on in life.[1]
One of the most surprising things I’ve noticed is how sensory play helps with emotional regulation. My daughter seems calmer and more focused after a sensory session. I think it’s because the act of engaging with different materials is inherently calming and grounding.
Messiness is part of the process. Don’t worry about keeping everything perfect. Let your child explore and experiment without fear of making a mess.
“I remember the first time I watched my son dig his hands into a bucket of rice and beans, laughing as he discovered the way…”— TinyRomp editors
Creating a Sensory Play Routine at Home
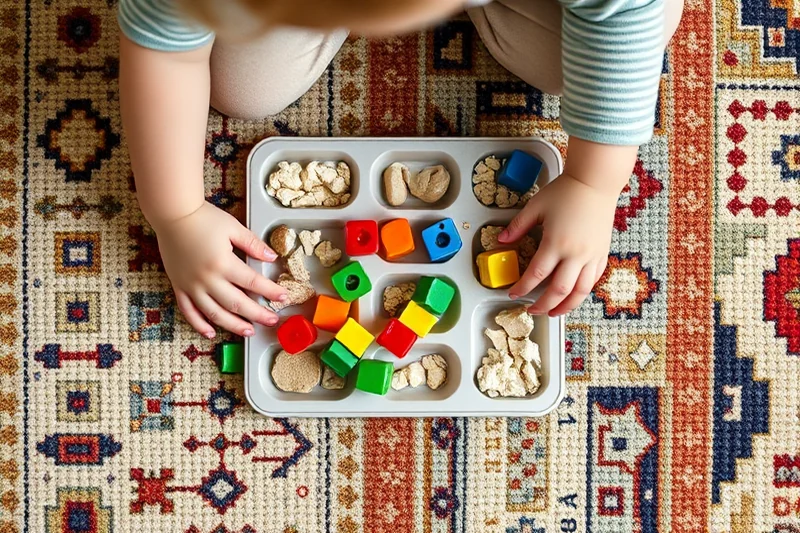
I’ve found that setting aside just 15 minutes a day for sensory play makes a big difference. It doesn’t have to be elaborate—just a few minutes of unstructured time with your child, playing with different textures and materials, is enough to spark curiosity and learning.[2]
I like to create different sensory bins each week, rotating through textures like cornstarch, rice, and lentils. This keeps things fresh and exciting for my child, and it gives me a chance to experiment with new materials and activities.
The best part about creating a routine is that it becomes a part of the day. Just like bath time or story time, sensory play becomes a cherished moment that both you and your child look forward to.
The Benefits of Open-Ended Sensory Play
I’ve noticed that when my child is given the freedom to explore sensory materials on her own, she becomes more creative and independent. She doesn’t just follow instructions—she invents her own games and ways to interact with the materials.
Open-ended play is different from structured activities. It allows your child to take the lead, to ask questions, and to make discoveries at their own pace. This kind of play supports problem-solving skills and emotional resilience.
I’ve seen my daughter take a simple bowl of flour and turn it into a castle, a cake, or even a boat. She’s learning through trial and error, and she’s not afraid to make mistakes. That’s the beauty of open-ended sensory play—it’s about the process, not the outcome.
⭐ Classic
The original DIY play dough recipe using flour and water.
💰 Budget
A no-frills version using only flour and water, no food coloring required.
⚡ Extra-Fast
Speed up the process by using pre-mixed flour and water for immediate use.
✨ Depth
Add in cornstarch or baking soda for a deeper, richer texture and more sensory experience.
🥗 Light
Use gluten-free flour for a lighter, more easily digestible version of the dough.
| The mistake | Why it happens | The fix |
|---|---|---|
| Using too much water | This can make the dough too runny and difficult to shape. | Gradually add water, a little at a time, and mix until the dough becomes smooth and pliable. |
| Not kneading enough | Under-kneaded dough can be crumbly and not stretchy enough for sensory play. | Knead the dough for at least 10 minutes until it becomes smooth and elastic. |
| Using warm water | Warm water can cause the dough to become sticky and not hold its shape well. | Always use cold water when making the dough to ensure it holds its texture. |
| Not sealing the dough properly | The dough can dry out and become hard if left exposed. | Store the dough in an airtight container or wrap it in plastic wrap to keep it moist. |
What You'll Need tap to check off
- 1 lb all-purpose flour
- ½ cup cold water
- food coloring to taste
Method tap a step when done
- In a large mixing bowl, add 1 lb of all-purpose flour.
- Gradually pour in 0.5 cup of cold water, mixing until the dough begins to form.
- Knead the dough for about 10 minutes until it becomes smooth and pliable.
- Add a few drops of food coloring and knead until the color is evenly distributed.
- Store the dough in an airtight container for up to 24 hours.
- Use the dough for sensory play, allowing your child to explore textures and shapes.
Key Facts
Sensory Play Recipes Without Tools
Common Questions
Can I use this play dough with young children?
How long does the play dough last?
Can I make this play dough in advance?
What if my child eats the play dough?
References
- Everyday J.U.N.K. Recipes : Family Development Program | The ... (fdp.unm.edu)
- Research review Food-related sensory activities for children in ... (sciencedirect.com)
Cite this guide
TinyRomp (2026). Sensory Play Recipes Without Tools. https://tinyromp.com/sensory-play-recipes-without-tools/
Feel free to cite or share this guide.