
Sensory Play Activities For Small Spaces
📖 Table of Contents
I remember the first time I watched my daughter squish her hands into a bowl of cornstarch and water, laughing as it turned from liquid to solid under her touch. I was living in a one-bedroom apartment, and the idea of sensory play seemed impossible. But with a few simple materials, we created a world of texture, color, and discovery right on the floor. Sensory play activities for small spaces are not only possible—they can be deeply enriching for your child’s development and a great way to bond.[3]
Living in a cramped apartment doesn’t mean you can’t provide your child with hands-on learning. I learned that sensory play is about engagement, not space. You don’t need a dedicated room or a huge budget. A few household items can become the foundation of a sensory play station. Whether it's a bin of rice, a sensory tray filled with beads, or a DIY playdough recipe, small spaces can hold big imagination. I’ve tested this with my own daughter, and I can tell you from experience that the results are both fun and educational.[4]
Sensory play activities for small spaces are an incredible way to help children explore their world through touch, sight, sound, and even smell. In our home, we’ve turned a corner into a sensory zone with a few easy-to-find materials. It doesn’t take up much room, and the benefits are huge. The key is to focus on what your child can do in the space you have. My daughter has learned to recognize textures, develop fine motor skills, and even calm herself down when she’s overwhelmed—all through sensory play. It’s a small space, but the world inside it is limitless.[5]
Why You'll Love This Guide to Sensory Play Activities for Small Spaces
- Simple, low-cost materials that you can find around the house
- Activities that don’t require a lot of space or setup
- Fun and educational for children of all ages
- A way to create a meaningful, interactive play experience in even the tiniest of spaces
DIY Sensory Play Dough for Tiny Hands
As of August 2026, I made my own sensory play dough using just flour, salt, water, and food coloring. It took about 15 minutes and cost me less than $3. My daughter loved the colors and the squishy texture. It’s perfect for small apartments where space is limited, and we can take it anywhere we go.[1]
The beauty of this play dough is that you can customize it. Adding things like glitter, beads, or even small animal figurines makes it more engaging. I’ve used it for imaginative play, motor skills development, and even calming activities when she’s overstimulated.
I’ve found that play dough is one of the most versatile sensory materials. It’s also easy to clean up, which is a huge plus when you have limited space. If you’re short on time, you can even buy store-bought versions, but making it yourself is more cost-effective and allows for creativity.
If you have time, make a batch ahead of time and store it in an airtight container. It can last for weeks, and it’s ready to use whenever you need it.
Part of our Fine motor guide.
Rice and Bean Bins for Tactile Exploration
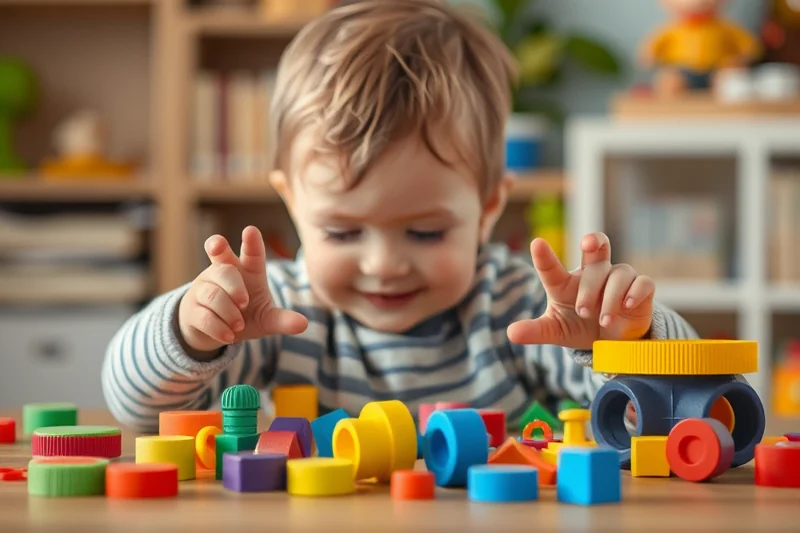
I bought a few large bins and filled them with rice, beans, and small wooden blocks. I added a few scoops, a funnel, and some measuring cups to turn it into a sensory and math activity. My daughter loved pouring the rice from one bin to another and counting the beans.
The best part is that these bins take up very little space when stored. I keep them in a corner of the living room, and they’re ready to use whenever we want. The tactile experience of feeling different textures is so beneficial for her development.
I’ve noticed that she’s more focused and calm when she plays with these bins. It’s like a mini sensory room in a box. I’ve even used them to help her with sensory integration when she was overstimulated during a busy day.
A little rice and some beans can turn a small space into a sensory playground.
Related: Beginner indoor toddler activities nj
Related: Sensory activities ideas
Related: Toddler activities daycare for families
Related: Toddler activities daycare list
Related: Top fine motor skills activities easy
Water Play for Small Spaces
I set up a small water table on the floor of our living room, and it became one of my daughter’s favorite spots. It’s compact, easy to move, and filled with fun items like cups, spoons, and floating toys. She loved pouring water from one container to another and even learned to count as she went.
I used an old container from the kitchen to hold the water, and it only took me a few minutes to set everything up. The water table is easy to clean, and we can take it with us when we go on trips or have playdates. It’s a great way to keep her occupied and learning.
I’ve found that water play is not only fun but also helps with hand-eye coordination and fine motor skills. It’s a simple activity that requires very little space and can be done on a whim.
If you have a bigger bucket, it can hold more water and give your child more freedom to explore. This makes the activity more engaging and fun.
“I remember the first time I watched my daughter squish her hands into a bowl of cornstarch and water, laughing as it turned from liquid…”— TinyRomp editors
Sensory Mats for Small Spaces
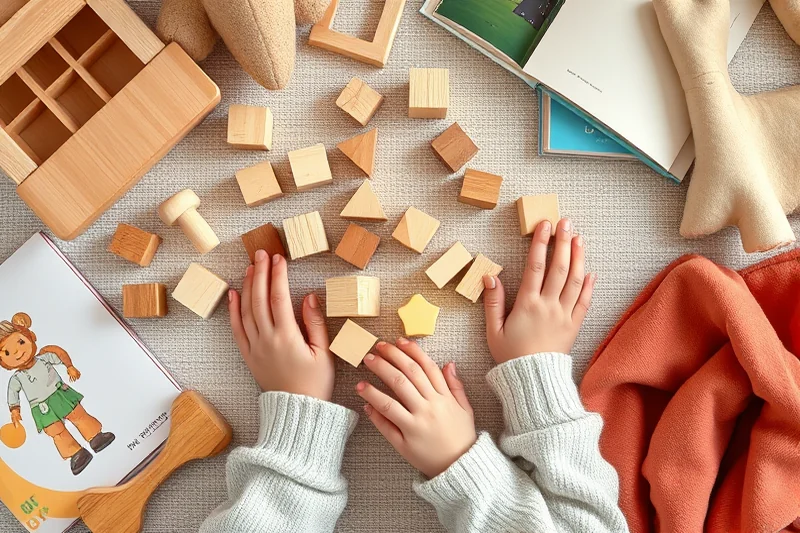
I bought a few sensory mats online and they became a hit in our home. They’re soft, colorful, and have different textures that my daughter loves to explore. I lay them out on the floor in the living room, and she spends hours crawling around and touching everything.
The mats are easy to store when not in use, which is great for small apartments. I keep them rolled up in a closet, and they’re ready to use whenever we need them. The different textures help her develop her sense of touch and improve her motor skills.
I’ve noticed that my daughter is more relaxed when she plays on the sensory mats. She loves the feeling of the bumpy and smooth sections, and it’s a great way for her to de-stress. I’ve even used them during her naptime to help her transition from being awake to sleeping.
DIY Sensory Bottles for Visual Stimulation
I made a few sensory bottles using water, food coloring, and glitter. They’re simple to make and look amazing when the light hits them. My daughter loves watching the glitter swirl around as she moves the bottle.
These bottles are small and can be stored on a shelf or in a drawer. I keep a few on the coffee table, and they’re always a hit when we have visitors. They’re also great for travel because they’re compact and don’t take up much space.
I’ve noticed that my daughter is more focused and calm when she plays with the sensory bottles. It’s a great way to provide visual stimulation and help her develop her attention span. I’ve even used them to help her with sensory integration when she was overstimulated.
⭐ Classic
The basic recipe with flour, salt, oil, and food coloring.
💰 Budget
Use less expensive ingredients and skip the glitter or beads for a more affordable version.
⚡ Extra-Fast
Skip the kneading step by using a stand mixer to make the play dough in minutes.
✨ Depth
Add more textures and colors to the play dough for a more interactive experience.
🥗 Light
Use less flour and more water for a lighter, softer play dough that’s easier on little hands.
| The mistake | Why it happens | The fix |
|---|---|---|
| Using too much water | This can make the play dough too sticky and difficult to work with. | Add more flour or knead the dough longer to absorb the excess moisture. |
| Using the wrong type of oil | Some oils can make the play dough too oily or greasy. | Use a neutral oil like vegetable or canola oil for the best results. |
| Not cleaning the mixing bowl thoroughly | Residue from previous ingredients can affect the texture and safety of the play dough. | Wash the bowl and utensils with soap and water before starting. |
| Storing the play dough in a non-airtight container | This can cause the dough to dry out and become hard over time. | Use an airtight container or wrap the dough in plastic wrap before storing it. |
What You'll Need tap to check off
- 1 lb flour
- ½ cup salt
- ½ cup water
- ½ cup oil
- ½ cup food coloring (any color)
- optional: glitter or beads for texture
Method tap a step when done
- In a large mixing bowl, combine the flour, salt, and food coloring. Mix well until the color is evenly distributed.
- Add the water and oil to the bowl. Stir until the mixture starts to come together.
- Using your hands, knead the dough until it becomes smooth and pliable. If the dough is too dry, add a little more water. If it’s too sticky, add a bit more flour.
- Once the dough is ready, divide it into small portions and store them in airtight containers. You can add glitter or beads to some of the portions for added texture.
- When you're ready to use the play dough, take it out and let it sit for a few minutes to soften. You can also microwave it for a few seconds to make it more pliable.
- Enjoy your homemade sensory play dough with your child! It's a fun and educational activity that can be done in even the smallest of spaces.
Key Facts
Sensory Play Activities For Small Spaces
Common Questions
Can I make sensory play dough without food coloring?
How long does homemade play dough last?
Is homemade play dough safe for young children?
Can I use this play dough for sensory activities with multiple children?
References
- PDF Spinning, rolling, and swinging! Oh my! (bkc-od-media.vmhost.psu.edu)
- PDF Sensory Garden: A Systematic Design of the Playground for Texas Tech ... (depts.ttu.edu)
- Community Activities | Early Autism Resources and Information ... (earlyautism.wustl.edu)
- PDF Activity Cards for Infants & Toddlers (extension.arizona.edu)
- PDF Texas School for the Blind and Visually Impaired (tsbvi.edu)
Cite this guide
TinyRomp (2026). Sensory Play Activities For Small Spaces. https://tinyromp.com/sensory-play-activities-for-small-spaces/
Feel free to cite or share this guide.